Operation
Powering On & Off
Please follow each of the steps, in specific order, to ensure optimal instrument power up:
Step 1: Physically inspect all RS232/RJ11 ports and ensure that they are properly connected to each component.
Note
If the instrument is hood-protected, remove it carefully and then proceed to Step 1.
Step 2: Ensure that all USB cable connections are intact and properly connected either to the individual USB hubs or the PC control ports.
Step 3: Check all electrical connections and power supply sockets on the extension cord.
Step 4: Plug-in extension cord to mains socket and expect →
Initialization sound on
Mount makes slight power up noise
Filter wheel should start internal rotation
Instrument starts rotating, if rotator powered correctly. Unplug and plug the power supply on the Pyxis, if not !
Attention
Cable Jamming
When rotation starts be extra careful with the hanging cables from the PEM and detector. They tend to block motion !
Step 5: Wait for PC to fully boot.
Step 6: Familiarize with the interface and software to be operated in the next section.
Power-off
Visit after measurement sequence end !
To power off the instrument → Close
solpol.exe,OpticstarView.exe,PicoScope6.exe→ Park to ‘Home Position’ and Disconnect Telescope → unplug USB hub → close PC → Unplug mains power socket.Cover instrument to ensure no humidity is accumulated in the PEM head.
User Interface & Control Panels
The basic software used for the instrument operation is the following:
Note
Instrument current drivers are for W10.
OpticstarView.exe- for the CCD camera operation and Sun Centering process.
PicoScope6.exe- for the oscilloscope initialization, used in Sun Centering and monitoring signal throughout the measurement sequence.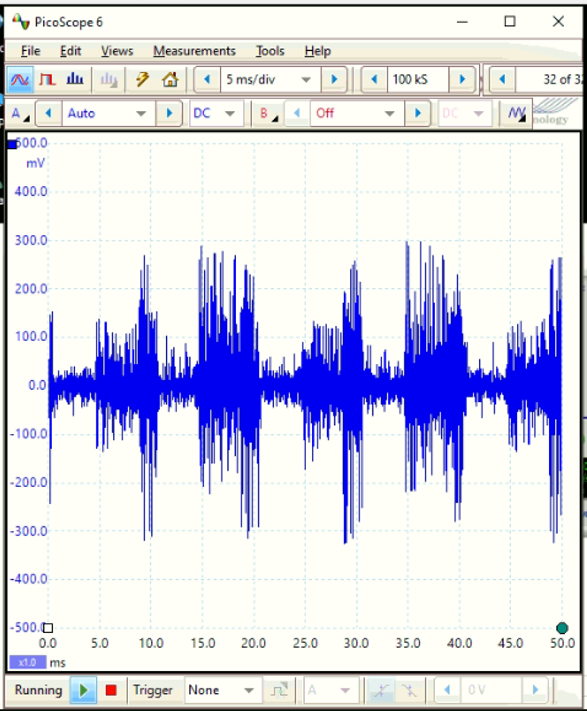
CartesduCeil.exe- for the planetarium program Cartes du Ceil, used for spotting and tracking object in the sky.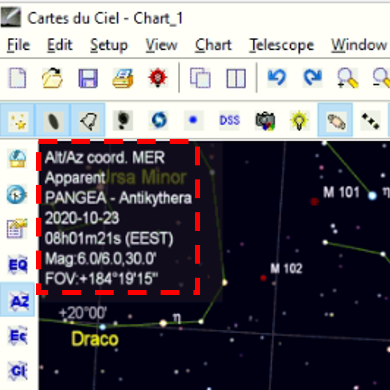
solpol.exe- for the SolPol operation and measurement sequences.
Track Object
In order to perform any measurement with SolPol, you first must properly align the mount (see Connect Mount and Polar alignment) and then consistently track the stellar object (Sun Centering).
Press ‘Unpark’ in Eqmod to unlock mount positioning.
‘Slew’ to object (Sun or for Any object process is the same):
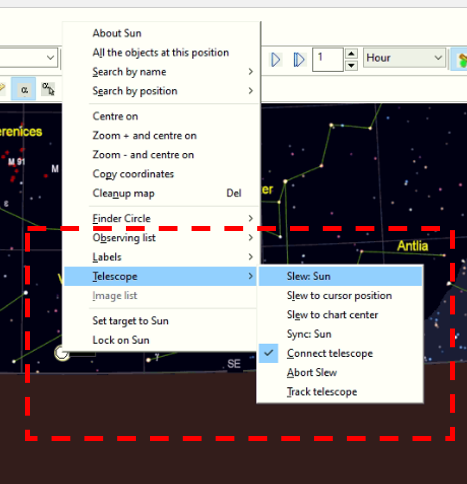
In CartesduCeil search tab insert Sun and find in planetarium → right click in Sun’s position → select Telescope → ‘Slew: Sun’
Attention
Tracker Slewing
Tracker starts moving towards the Sun, beware of jammed cables !
Enable solar tracking → press track rate Solar.
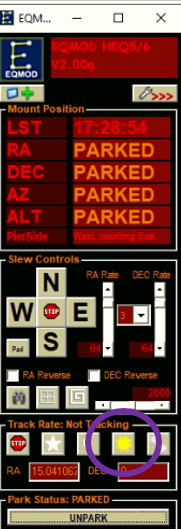
When finished, return to ‘Home Position’ by pressing ‘Park’ and expect mount to move back to initial position.
Then, go to Cartes ribbon → Telescope → Connect telescope → Disconnect in ASCOM pop-up → red light on and pop-up closes.
Prepare Measurement
Open
solpol.exe→ Press Find button, to find all the instrument components.Wait until indication ‘All peripherals found’ appears in the SolPol interface !
If indication ‘Not all Peripherals found’ appears, unplug and plug the component that is missing !
Tip
Device Manager (W10) is your friend. Use it to locate all the used Ports and their type.
Choose Filter wavelength equal to 550nm from the dropdown, if not already checked.
Filter wheel should be rotating, listen to it.
Press Initialize to give initial parameters to instrument components.
Polarizer should be rotating, wait until DONE appears.
SolPol is set-up and ready !
Data Acquisition & Recording
Begin data acquisition → Press Start in
solpol.exe, filename window pops up.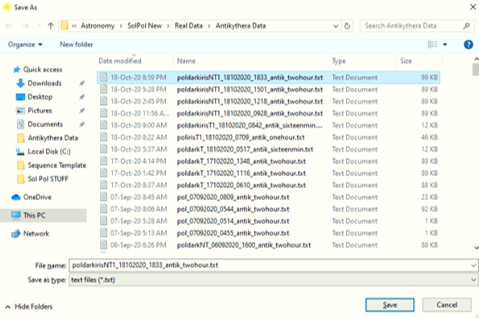
Name file as in example: if dark measurement → poldark, if normal measurement → pol and as time insert the exact PC time in UTC.
Press Save
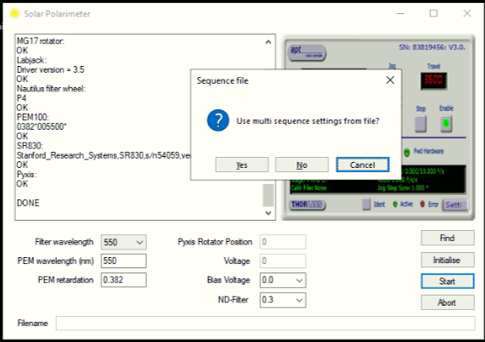
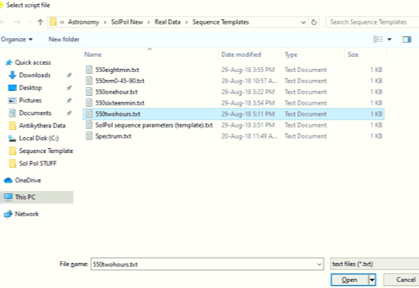
Sequence file pops up → Press Yes → choose appropriate sequence file from the available choices (see pic).
e.g.
550twohours.txt
Note
Choose sequence according to current measurement needs.
Press Open & you’re good to go !
Tips on Measurement details
Tip
No1
Perform always BEFORE measurement :underline: day:
a Polar alignment !
the Sun Centering to ensure maximum signal !
Perform BEFORE & AFTER each measurement :underline: sequence:
a visual inspection of all cables/connections !
brief Dark Measurements (e.g. 16 min in duration) to deduce instrument noise level !
Tip
No2
If multiple USB connections fail, consider a PC reboot.
Do not interfere with the data acquisition file while measuring, it is updated in real-time !
Always park the mount before each measurement day end !
Keep your logbook tidy ! See the Logbook template.